Wednesday, 7 August 2013

Hairstyles I'm Currently Loving! | Believe In Beauty

Hey!:)

So today's post is going to be about some Hairstyles that I'm currently loving. There are only going to be 3, but I do have some others (might do another post), but these are my most favourite! Lets start!
Hey Pooh ;) 
Need to change the colour of that kirby grip at the front, haha!


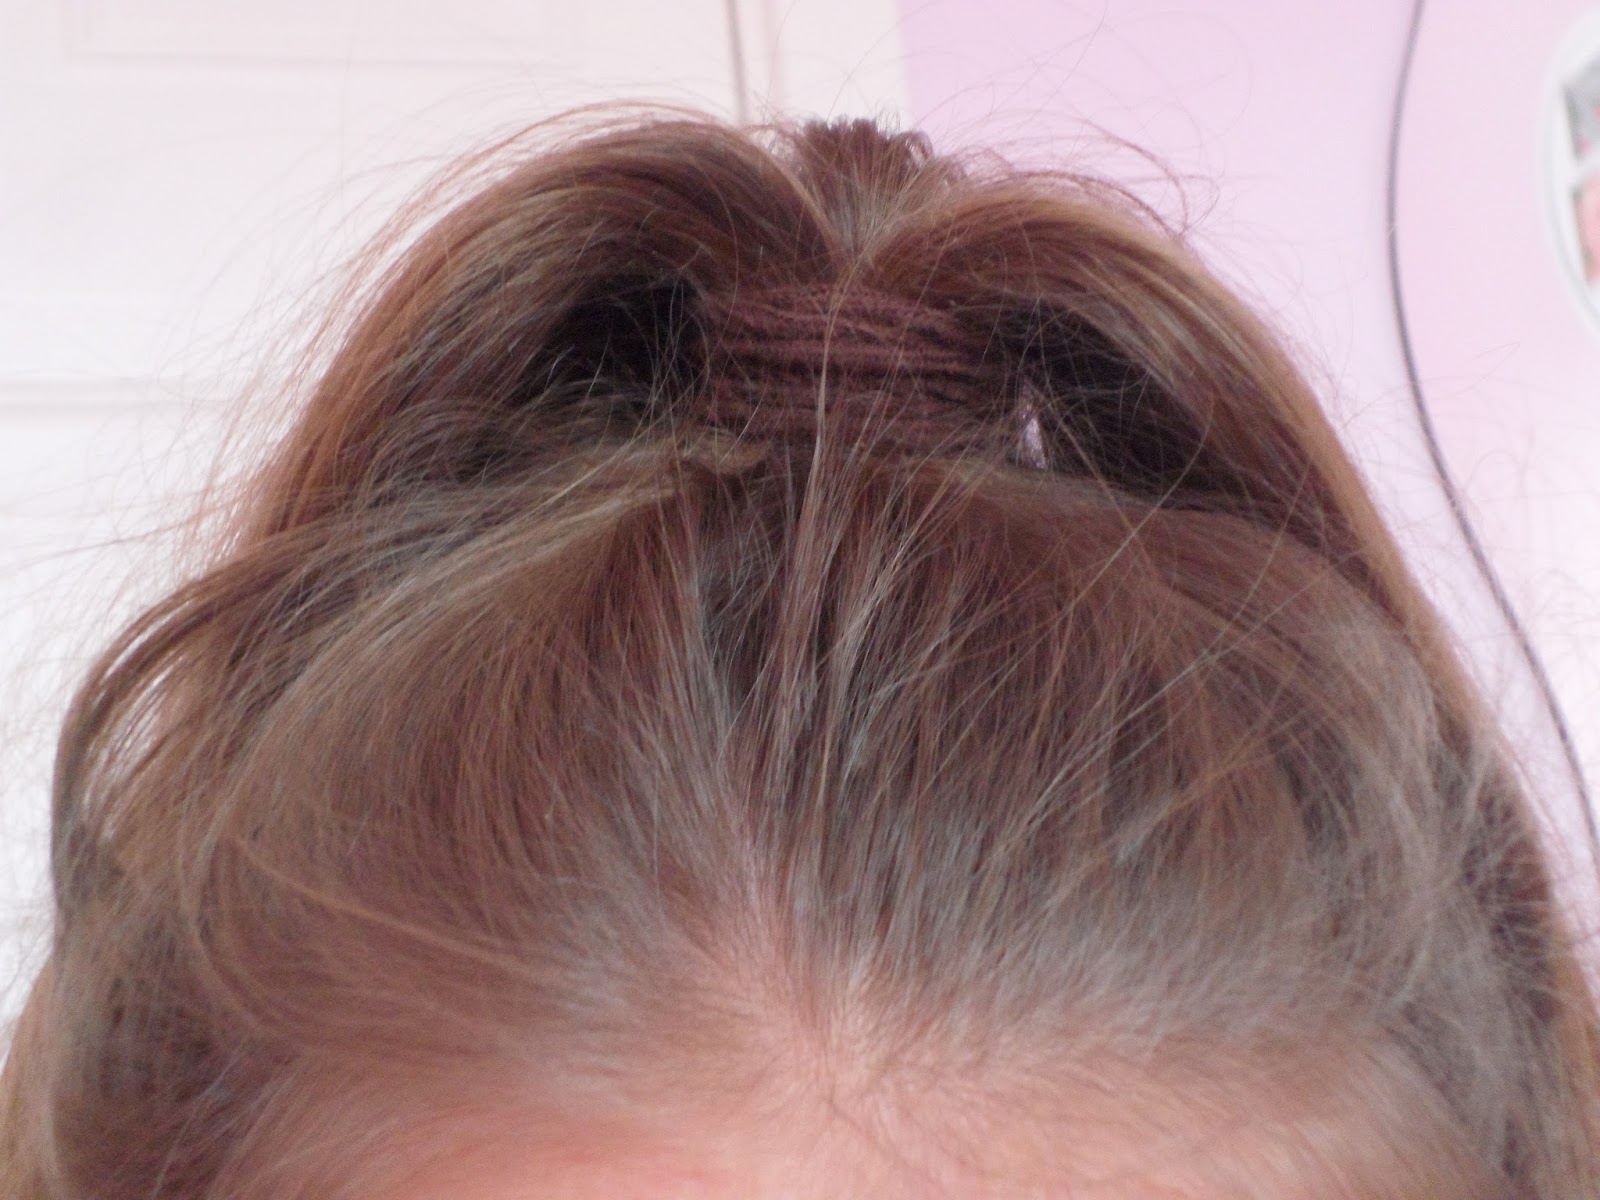
So the first Hairstyle, is your average messy bun. A really simple design, that I've really been loving at the moment. I really like a high bun, to like sit on the top of your head (like in the above picture). I also like the hair around it to be quite messy and voluminous, as I think it gives it a better look. I also like to put a cute hair clip at the back of it, (see first picture), it just looks pretty and adds a better finish. I think a messy bun is great for bad hair days. You can just sling your hair up and be done with it. Or, if you have long hair like me, it's great to keep out of your face on hot days. This is definitely a hair style I will be wearing when I'm on holiday, to keep my hair out of the pool and stuff. 
The next Hairstyle is a high pony tail! I've really been loving these, and I was inspired by Zoella to do this, I loved the look of hers, so tried it on myself. It's a pretty look, which keeps your hair out of your face, and you can wear it to School and it will still look nice. It's so easy to do as well, and takes seconds. It's a look which looks like it took you ages, but it really didn't. I also like the pony tail to be a bit messy, I think it adds more volume and texture to the hair. I love this hairstyle, great for summer too as it keeps your hair out of your face! 
The final Hairstyle is a look where my hair is kept down for once. I think this is more of a 'going out' look. All you do is get a really pretty clip (like shown above) and part your hair to the side, and clip a bit over to the side, and poof (?), it up a bit, to form a sort of quiff. I wear this look the most, probably. I just love it! I think it is so girly, and so me! You should all definitely try this as well, as again, like the pony tail, it takes like 2 seconds to do, but looks so nice! 

So they are 3 Hairstyles, that I am currently loving! I hope you like them too, and maybe try them out? Thanks for reading and I hope you enjoyed!

Byee!:)


Tuesday, 6 August 2013

Nail Design: Grey Shimmer! | Believe In Beauty

Hey!:)

So today's post is another Nail Design. I'm sorry it's been so long, since my last one, I just never got round to doing it, but I do love this series, and hope to keep it going.

I think sometimes, we forget about the most simplest nail designs, that we can do. I know sometimes it's great to go crazy and do lots of cool designs, but it's the simple designs that can look most effective. Seeing as I'm not good at doing Nail Art, I do the simple things, and that is what I show you in this series. 
First I painted 2 coats of some of my favourite Nail Varnishes. I chose colours from Pastels, to darks, to brights, and to fluorescents, just so you could see it works on all different colours. From left to right, we have Barry M just a dark Pink - (no name, came in a set), Collection 33 Button Moon, Nails Inc. Little Miss Naughty, Essie Chubby Cheeks, Barry M 307 Lemon, Barry M Gelly Hi-Shine, 317 Greenberry, Barry M 304 Mint Green and Models Own Bubblegum. As you can see this is a good range of colours. Below is a picture of the colours in their bottles, in the same order. 
 So grab your favourite Nail Varnish colour, and paint your nails and then follow the next step :)
Okay, so by using the above colour, which is the Maybelline 830 Silver Speed, I painted one coat of it on top of my original colours. It gave a really pretty finish. It gave a grey shimmery/glittery finish, but also looked quite metallic and silvery. It's so simple, and takes a short amount of time, to complete this really effective look. This is the finished result (down below), how pretty is it though?! I really want you all to try it, just get a grey glitter colour, and paint it over whatever colour you like, to create this beautiful look. 
Now I am going to show you some close ups of the colours, and I will put an above picture of the Nail Varnishes in their bottles, to show you which colour goes with which (in order). I think you would agree, the finished look is very pretty. 
From left to right we have the Barry M Dark Pink colour (with no name), Collection 33 Button Moon, Nails Inc. Little Miss Naughty and Essie Chubby Cheeks. 
From left to right we have, Barry M 307 Lemon, Barry M Gelly Hi Shine 317 Greenberry, Barry M 304 Mint Green, and Models Own Bubblegum. 

So I really hope you like this very simple look. Just choose your favourite Nail Varnish, (doesn't have to be a specific type, as I have shown you from my examples), and paint a silvery/glittery colour over the top, and it will give you an effective finish. Try it and maybe you could post a picture on your blog, and link your post in the comments, I would so love to see them! Thanks for reading and I hope you enjoyed!

Byee!:) 


Monday, 5 August 2013

Lush: Honeybee Bath Ballistic Review! | Believe In Beauty

Hey!:)

So today is Monday, and that can only mean one thing...Lush review! Today's review is on the Honeybee Bath Ballistic. Lush sent me this for free, after I complained about a product staining my bath and I thought this was very kind of them. Normally it is £3.15, which is quite a lot, seeing as it is not an extravagant one, but obviously I got it for free. HERE is the link for Honeybee, on the LUSH website. 
So here is Honeybee. It's a massive Bath Ballistic, that is mostly yellow, but also has some grey on it. I don't know if the pattern is supposes to be similar to a Bee? - But I really like the pattern anyway! This smells absolutely divine, it's just like Honey I Washed The Kids (one of my favourite soaps!), and smells vanilarry. It is also quite a sweet scent, it smells like some sort of sweet, but I can't think which one. It's featured ingredients are Rhassoul Mud, Honey and Aloe Vera. I believe the Aloe Vera gives the skin it's soft finish, as you get out and your skin feels heavenly. 
When you pop Honeybee in your Bath, it starts fizzing straightaway. It takes a really long time, so I think to get your money's worth, you could easily split it in half, and that's what I will do next time. Nothing really special happens when it's in the bath, it just fizzes a yellow colour, releasing a tiny amount of bubbles and giving the water a silky finish. I also noticed when I rinsed the water away, at the bottom was a tiny bit of like 'grit', it was like after you've had a bath when you've been at the Beach all day. It was a bit weird, I'm guessing it came from the grey bit of the Bath Ballistic, maybe to exfoliate your skin?!  

This is quite a short review today, as I don't really have much to say. It was a nice simple Bath Ballistic, that smelt amazing, fizzed a yellow colour, and made your skin soft. I think the main focus of this Bath Ballistic, was to soothe your dry skin. I really wish the price was cheaper though, that is the only down side of Honeybee. I think this would be a good Bath Ballistic, for people who like a safer Bath Ballistic, a one where you can kind of relax more! 

I really hope you enjoyed, and thanks for reading!

Byee!:) 


Sunday, 4 August 2013

Top 5 Summer Essentials! | Believe In Beauty

Hey!:)

So today's post is inspired by vintagelovehearts post on her Summer essentials, I thought it was a good post to do, so that is what I'm going to do today! We've had some really hot weeks just gone, but it feels slightly colder today...autumn will soon be here! :( 
My first product is this Yellow Vaseline, which has SPF 15 in it, so it is obviously a great product for Summer. This will protect your lips from the Sun, and prevent them from getting burnt. No one likes burnt lips, it's painful, so this is the perfect product. I am aware, that you can't buy this in local drugstores, e.t.c, anymore, but don't worry this isn't a hundred years old! I got mine from Amazon, for £2.72, which is good, I think. HERE is the link, if you want to buy it, I recommend you do! 
Next is the Body Shop, Vitamin E, moisturiser. This is a great Summer product. The sun can sometimes really dry out your face, so this is great to put some moisture back into the Skin, and keep it looking healthy. It also has SPF 15 in it, which is a huge bonus for me. I can't put sun cream on my face, as I'm allergic, so this moisturises gives me protection from the Sun, as no one wants wrinkles! ;)
Another great product for Summer is the Rimmel stay matte, pressed powder. In the Summer, my skin gets overly oily, especially round my nose, and chin. No one likes a greasy face, so this product, is really good for making my skin stay matte and it gives a really good coverage and a nice finish.   
Next up is the Toni&Guy Dry Shampoo. In the Summer you are sweating more, so this starts to make your hair greasy. No one likes greasy hair, it's not very nice, so this is the perfect Dry Shampoo, to give your hair a good freshen up and to take away the horrible greasiness. This is also a really good Dry Shampoo for doing this! 
This seems a bit of an obvious product, but Sun Cream, is so important in Summer. I hate wearing Sun Cream, and don't often wear it, but you need to wear it. It protects your skin from so much and is vital for hot, sunny weather. This is one I got on holiday last year, I don't think it's out of date yet, but it works well! 

So they are my top 5 Summer essentials. I really hope you enjoyed this post, and I may do a top 5 Winter essentials, when it's Winter! Thanks for reading! 

Byee!:) 


Wednesday, 31 July 2013

Picture's From A Day At The Beach! | Believe In Beauty

Hey!:)

On Wednesday 3rd of July, I went to the Beach! 


So, there were just a few picture's I took when I went to Swanage and Studland Bay for the day. I went on a Geography trip, so obviously it wasn't the most exciting day, but I wanted to show you the picture's anyway. It was also a bit cloudy, but it did brighten up at the end of the day, and got really warm! 

We first went on this long walk, it was like 4 miles or something? And then we had to measure some stuff on the Beach...oh what fun! ;) Then we finished the day with Ice Cream and Fish 'N' Chips. 

Bit of a random post today, but tell me if you like these kind of posts?! I will definitely do more. Thanks for reading and I hope you enjoyed!

Byee!:) 


Monday, 29 July 2013

Lush: Dorothy Bubble Bar Review! | Believe In Beauty

Hey!:)

So it's Monday, and you know what that means? A Lush product review! I'm really getting into writing these, and thinking about reviewing a product on Thursday too? I'm always gonna review one on Monday, but Thursday could be a bonus day? When I sort out my Blog post schedule, later on today, I'll think about it! ;) You can purchase Dorothy HERE on the LUSH website, if you want to, of course.  

This is Dorothy. I've got two pictures showing Dorothy, the top one is a picture I took just before I used it, and the bottom picture is a picture from when I first brought it. Why on earth has it faded?! It has never been near any light or anything...how strange. This is slightly annoying, as it definitely affected the colour the water turned. *Note to self: Use it as soon as you buy it*. 

Anyway, Dorothy is a really, lovely Bubble Bar, which is a good size for the price, it's only £2.99, and the Bubble Bar is quite big! The scent of Dorothy is really lovely. I don't know how to describe it, other than it is a really soft-sweet scent, which made the Bathroom smell lovely for a while. It's main ingredient is 'Ylang Ylang' oil, which could describe the fresh scent to it. Seeing as it's not a very strong scent (good for people who suffer with headaches!), it doesn't linger on the skin for too long, not pleasing to me though. 

Dorothy also gave me lots of lovely Baths. I managed to crumble Dorothy, under the running water for 7 Baths...isn't that a good number for the cheap price? I think so! 
For the number of Baths you got out of it, the number of Bubbles, was also pretty impressive. The Rainbow part of Dorothy produced Red Bubbles (which slowly got lighter as it went through the Orange and Yellow) and the Bubbles were soft and it felt like the Water had a creamy texture, which I think made the skin slightly more softer. 

I'd heard loads of reviews that people had got bright Blue Water, and when crumbling the base of Dorothy into the Bath, no colour really came. It was such a pale Blue, it was just basically the colour of the Water. It didn't even affect how much of the Bubble Bar you put in. I was really looking forward to my bright Blue bath, and because of the base fading, this never came! Therefore, it was quite frankly, not worth taking a picture of. 

Apart from the disappointment of no Blue water, I did very much enjoy this Bubble Bar. Next time I go to buy it (very soon, probably!), I'm definitely going to use it quickly, I don't want it to fade again. Which shouldn't really happen though should it? Annoying. 

Thanks for reading, and I hope you are enjoying Lush review Monday's! 

Byee!:) 


Friday, 26 July 2013

Summer Nails! | Believe In Beauty

Hey!:)

So today's post is a really, really quick one! Who remembers back in June when I did a post on my favourite Summer Nail Varnishes? Well, I said I would do a separate post with swatches of the colours, so this is that post. It is a little delayed, but better late than never, right?! ;) HERE is the link, to the post where I wrote about my favourite Summer Nail Varnishes. 

So from Left to Right we have...Maybelline 170 Flamant Rose, Barry M 294 Cyan Blue, Barry M 317 Greenberry, Barry M 296 Coral and Models Own Bubblegum. So now you can see how lovely the colours actually are. I know you can't see the Models Own one too well, being such a fluorescent colour, it didn't work well with my camera...but just imagine it to be a bright fluorescent Pink, too bright for your eyes! ;)

I really hope you enjoyed this really quick post. Thanks for reading!

Byee!:)